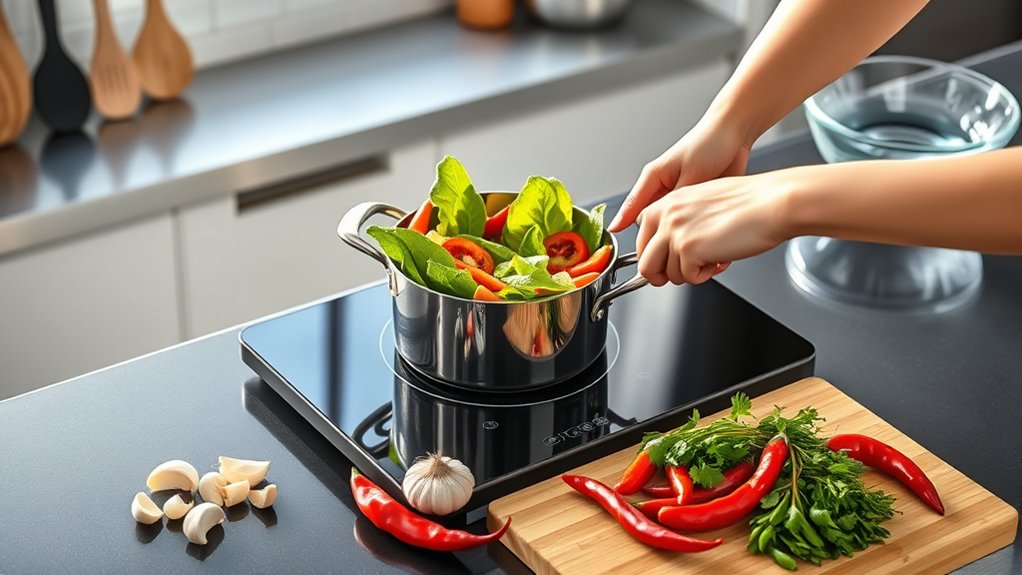
7 Simple Steps to Cook Using an Induction Cooker
Cooking on an induction cooker can feel tricky at first, especially if you’re unsure which pans work, how quickly it heats, or when to adjust the temperature. You’re not alone—many people struggle to get consistent results without scorching food or damaging the surface.
These simple steps make cooking with an induction cooker easier and more reliable.
Choose magnetic, flat-bottomed cookware and place your induction cooker on a stable, dry, heat-resistant surface. Select a medium setting, then preheat the pan briefly. Add ingredients when the pan reaches the right temperature, following your recipe’s sequence.
Adjust the heat gradually as food cooks, lowering it to prevent browning or scorching. Check doneness with a utensil or thermometer, and season near the end.
Turn off the cooker, remove the pan, let the surface cool, and clean it gently. More useful cooking tips follow.
Key Takeaways
- Choose flat-bottomed cookware with a magnetic base, such as cast iron or induction-compatible stainless steel.
- Place the cooker on a stable, dry, heat-resistant surface and select a suitable cooking zone.
- Start at medium heat and preheat the pan briefly. Then adjust the setting according to the recipe.
- Add ingredients in the recommended order, stirring regularly and making small heat adjustments as needed.
- Check doneness and season near the end. Switch off the cooker, remove the pan, and clean it after cooling.
Choose Induction-Compatible Cookware

Start by choosing cookware with a magnetic base, such as cast iron or magnetic stainless steel. Check each pan’s packaging or underside for an induction-compatible label before you buy. You can also hold a magnet against the base; if it sticks firmly, the pan will usually work with your cooker.
Consider the cookware material carefully. Cast iron heats reliably, while stainless steel works only when it contains a magnetic layer. Aluminum, copper, glass, and ceramic pans generally won’t activate the cooking zone unless they include a compatible base.
Choose a flat-bottomed pan that matches the zone’s size for efficient heat transfer and stable contact.
Don’t overlook handle design. Select sturdy, heat-resistant handles that feel comfortable and give you secure control. Avoid loose, unbalanced, or overly long handles that could make lifting difficult.
Inspect every pan for a smooth base, since rough surfaces can scratch the glass cooktop during normal use.
Set Up Your Induction Cooker Safely

Place your induction cooker on a stable, level, heat-resistant surface. Before you turn it on, make sure your cookware is induction-compatible. Following these steps will help you cook safely while preventing spills and damage.
Choose a Stable Surface
Choose a flat, stable surface near an outlet for your induction cooker. Prioritize surface stability so the appliance won’t wobble, slide, or tip while you cook.
Keep the cooker on a level countertop with enough room around it for safe handling and ventilation. Leave space beside the unit for ingredients, utensils, and hot cookware, but don’t crowd the area with clutter.
Consider countertop materials carefully. Heat-resistant stone, tile, or metal generally provides a firm, durable base, while delicate laminate, unfinished wood, or plastic may require extra protection from heat.
Place a heat-resistant mat underneath if the manufacturer recommends one, and keep the cord away from sink water, burners, and walkways.
Don’t set the cooker on an unstable table, damp surface, or covered stovetop. Guarantee the outlet remains easily accessible.
Check Cookware Compatibility
Before turning on the cooker, confirm that your cookware works with induction. Check the cookware material first: cast iron, enameled iron, and magnetic stainless steel usually work well. Aluminum, copper, glass, and nonmagnetic stainless steel generally won’t heat unless they have a magnetic base.
For quick compatibility testing, hold a refrigerator magnet against the pan’s bottom. If it sticks firmly, your pan should work. You can also look for an induction symbol, usually a series of loops, on the base or packaging.
Choose cookware with a flat bottom that matches the cooking zone for steady heating and safer operation.
- Test every pan before cooking, even if its label claims induction compatibility.
- Avoid cracked, warped, or excessively heavy cookware.
- Keep the pan centered to prevent uneven heating and unwanted movement.
Replace unsuitable cookware before proceeding.
Choose the Right Heat Setting

Choose a heat level that suits your food and cooking method. Start with medium heat, then adjust it as needed so your food doesn’t burn or remain undercooked.
Match Heat to Food
How high should you set the heat? Match the setting to your food and cooking method. Use low heat to melt chocolate, warm sauces, or simmer delicate ingredients without scorching them.
Choose medium-low heat for sautéing vegetables, cooking eggs, or reducing liquids gently. Reserve high heat for boiling water, searing meat, or quickly stir-frying sturdy vegetables.
Your induction cooker’s precise Temperature control helps you adjust quickly, while even heat distribution keeps the pan’s base consistently warm. Watch how your food responds instead of relying only on a recipe’s number.
- Low: melt, warm, and simmer delicate foods.
- Medium: sauté, fry, and cook most everyday dishes.
- High: boil, sear, and stir-fry briefly.
If ingredients brown too quickly, lower the setting. If cooking slows, raise it slightly. Let the food guide your adjustment.
Start With Medium Heat
Start with medium heat for most induction-cooking tasks, then adjust based on how your food responds. This setting gives you control without shocking ingredients or overheating the pan.
Induction responds quickly, so you’ll have reliable temperature control from the beginning. Check your cookware material, because cast iron, stainless steel, and layered pans may distribute heat differently.
| Task | Starting setting | What you’ll notice |
|---|---|---|
| Sauté vegetables | Medium | Gentle sizzling |
| Simmer soup | Medium-low | Small, steady bubbles |
| Cook rice | Medium | Even heating |
| Sear meat | Medium-high | Quick browning |
Place the pan centrally on the cooking zone and let it preheat briefly. Add food only when the surface feels ready, using the recipe’s guidance for oil and timing.
Keep your attention on the cooking process. Avoid beginning at maximum power unless boiling water quickly is your specific goal.
Adjust as Needed
Once your food begins cooking, adjust the heat based on what you see and hear. Lower the setting if oil smokes, sauce splatters, or ingredients brown too quickly.
Raise it slightly when simmering stops or food cooks unevenly. Induction responds quickly, so make small changes and watch the pan for a few seconds before adjusting again.
- Use low heat to melt, warm, or simmer delicate foods.
- Choose medium heat for sautéing vegetables, cooking eggs, or reheating meals.
- Select high heat briefly to boil water, then reduce it to prevent overflow.
For cooking safety, keep handles turned inward and never leave a hot pan unattended. Use cookware that matches the induction surface and sits flat.
Wipe spills after the cooktop cools to support cookware maintenance and prevent residue from hardening. You’ll gain better control, protect your ingredients, and cook more confidently.
Add Ingredients at the Right Time
Add ingredients when the induction cooker reaches the heat level your recipe requires. Proper ingredient timing helps each food cook evenly and keeps your recipe on track. Read the instructions before you start, then prepare everything in advance so you won’t leave the pan waiting.
Add aromatics, such as onions, garlic, or ginger, when the oil is ready, allowing their flavor to develop without burning. Place meat, poultry, or seafood in the pan only after it reaches the recommended cooking temperature, so you’ll get proper browning and food safety.
Add vegetables according to their density: start with firm carrots or potatoes, then include quicker-cooking peppers, greens, or peas. Pour liquids after browning solids if your recipe calls for deglazing or simmering.
Add delicate herbs, dairy, and other finishing ingredients near the end to preserve their texture and flavor. Thoughtful ingredient timing supports flavor amplification and helps every component finish together. Follow your recipe’s sequence for the best results.
Adjust the Heat as You Cook
Adjust the heat as your food cooks to maintain steady progress without burning or drying it out. Induction burners respond quickly, so make small changes instead of jumping between extreme settings.
Start at the recipe’s recommended level, then lower it when the pan reaches the desired cooking pace. Raise it briefly if ingredients need more energy, and return to a moderate setting once they respond.
Use these habits for better Temperature control:
- Watch how quickly ingredients react, and adjust before the pan becomes excessively hot.
- Move the pan to a cool burner when you need an immediate pause.
- Keep the handle turned inward and use oven mitts as part of your Safety precautions.
Remember that cookware retains heat after you reduce power, so give your adjustment a moment to take effect. Avoid repeatedly tapping controls, which can make temperature changes harder to track.
If your cooker offers preset levels, choose a low, medium, or simmer setting that matches the recipe’s current stage.
Check Doneness and Prevent Burning
Check doneness by testing the food before its surface becomes too dark or dry. Use a fork, knife, thermometer, or tasting spoon, depending on the dish.
Check doneness with the right tool before browning or dryness obscures the food’s texture and readiness.
Lift food briefly from the pan to inspect its color and texture, but don’t leave the cookware unattended. Since induction heat responds quickly, lower the setting as soon as the food approaches completion.
Stir sauces, grains, and sautéed ingredients regularly to distribute heat and prevent scorching at the base. Scrape gently across the bottom with a suitable utensil, especially when cooking thick mixtures.
If the surface browns too quickly while the center remains undercooked, reduce the heat and add a small amount of liquid when appropriate. Covering the pan can help cook the interior more evenly, but check frequently to avoid overcooking.
Taste and adjust seasoning near the end; this supports Flavor improvement without masking natural flavors. Remove delicate foods promptly to support Texture preservation, especially vegetables, fish, and eggs.
Turn Off and Clean the Cooker
When cooking is complete, turn off the induction cooker and remove the pan from the cooking zone using a dry, heat-resistant mitt. This step supports power conservation and reduces the risk of accidental heating.
Let the glass surface cool before cleaning. Don’t pour cold water onto a hot cooktop, since sudden temperature changes can damage it.
Follow these safety precautions:
- Wipe spills promptly with a soft, damp cloth.
- Use a cooktop cleaner and nonabrasive pad for dried residue.
- Dry the surface completely to prevent streaks and moisture around controls.
Avoid steel wool, scouring powder, and harsh chemicals, which can scratch or discolor the glass.
If food has burned on, apply cleaner, let it sit briefly, then lift the residue with a scraper designed for induction cooktops.
Clean the control panel gently, keeping liquid away from openings.
Finally, inspect the cord and surrounding counter, then store the cooker only after it’s cool and dry.
Regular cleaning keeps heat transfer efficient and helps your cooker last longer.
Frequently Asked Questions
How Does an Induction Cooker Heat Cookware?
An induction cooker heats cookware through magnetic fields rather than direct flames or glowing elements. When you place compatible cookware on its surface, an alternating electric current creates a rapidly changing magnetic field.
That field induces electric currents inside the pan, producing heat directly within its metal base. You won’t feel much heat from the cooktop itself.
Check cookware compatibility: magnetic stainless steel or cast iron works best, while aluminum and glass usually don’t.
Can Induction Cookers Affect Pacemakers or Other Implanted Medical Devices?
Yes—think of an induction cooker as a focused magnetic “whirlpool,” powerful near the pan but rapidly weaker with distance. It can potentially cause medical device interference, especially with some pacemakers or implanted defibrillators, though modern devices often include shielding.
For electromagnetic safety, keep your implanted device at least 60 centimeters (24 inches) from the cooktop, don’t lean over it, and follow your cardiologist’s and device manufacturer’s guidance. Stop if you notice symptoms.
How Much Electricity Does an Induction Cooker Use?
An induction cooker typically uses 1,200–2,000 watts per burner, though larger models may draw more. Your actual electricity use depends on cooking time and heat level: running a 1,500-watt burner for one hour consumes about 1.5 kilowatt-hours.
Because induction transfers heat directly to compatible cookware, its Energy efficiency often exceeds gas and traditional electric stoves. You’ll reduce Power consumption by using properly sized pans, matching heat levels, and turning the cooker off promptly.
Are Induction Cookers Safer Than Gas or Electric Stoves?
Yes, induction cookers can feel almost magically safer than gas or traditional electric stoves. You won’t handle open flames, and their surfaces heat less directly, reducing burns and fire risks.
However, you’ll still face safety concerns: hot cookware, spills, and electromagnetic compatibility issues require attention. Practice appliance maintenance by checking cords, cleaning spills promptly, and following manufacturer guidance.
If you use compatible pans and stay attentive, induction cooking offers excellent everyday safety.
What Should You Do if the Induction Cooker Displays an Error Code?
If your induction cooker displays an error code, stop cooking and check the manual for its meaning. Error troubleshooting usually includes removing unsuitable cookware, centering the pan, checking the power connection, or allowing the unit to cool.
Follow Safety precautions: switch it off, unplug it if necessary, and never touch damaged cords or internal parts. If the code persists after restarting, contact the manufacturer or a qualified technician instead of attempting repairs yourself.
Conclusion
With these seven steps, you’ll cook faster, more safely, and with greater control on an induction cooker. Think of it like learning to steer a responsive bicycle: small adjustments keep everything balanced.
When I first tried induction cooking, my soup went from simmering to scorching in seconds because I ignored the heat setting. Now, you can avoid that mistake by using compatible cookware and watching your food closely.
Clean the surface after switching it off, and soon, precise cooking will feel effortless with your induction cooker.


